







About Mini Golf Saga
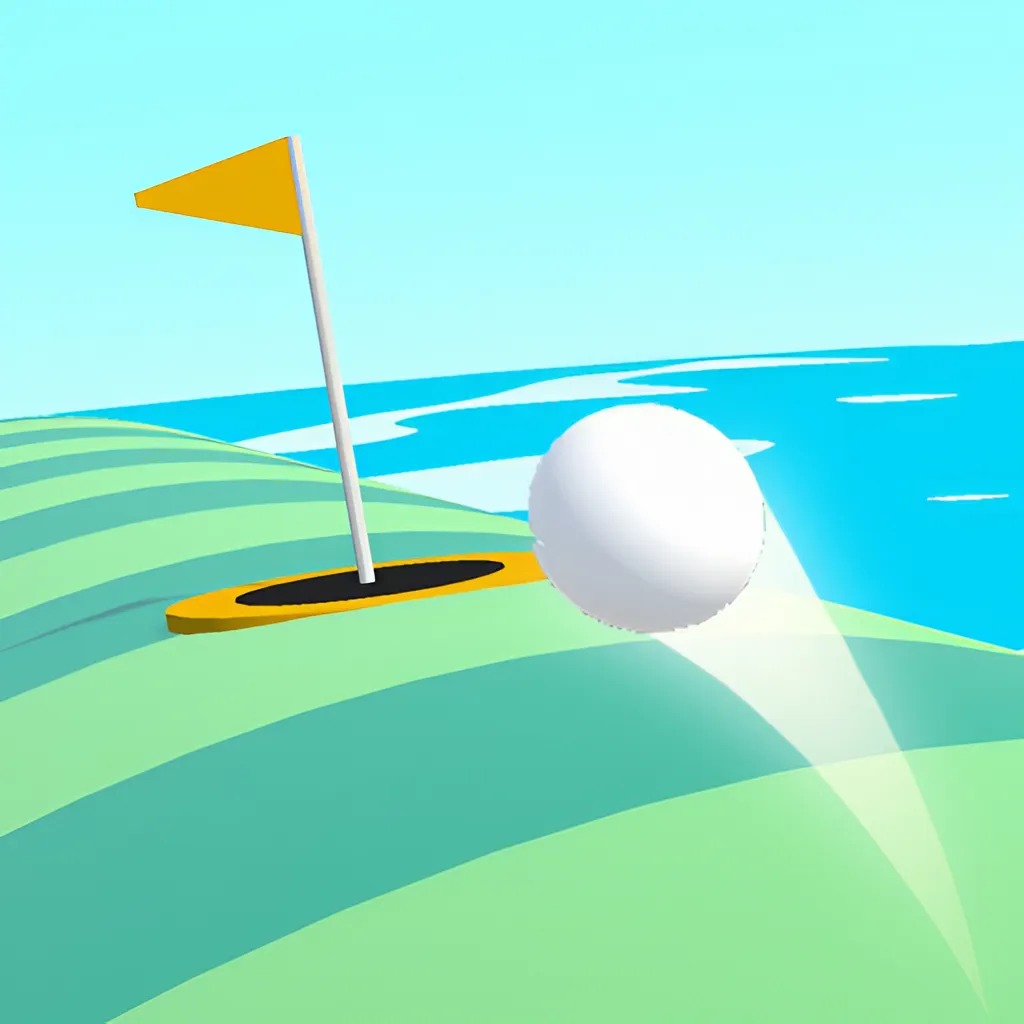
Mini Golf Saga places a practical constraint around its beach setting: you have a limited number of hits to finish a course. The ball must get past the layout’s obstacles and into the cup before that allowance runs out. A stroke therefore needs a purpose, whether it attempts the finish or creates a clear approach.
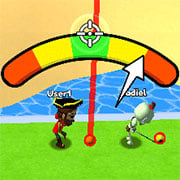
A red aiming arrow helps you prepare direction and power before release. Use it alongside the three-dimensional course rather than reading it in isolation. A barrier can interrupt the line, and a rebound can carry the ball somewhere the initial arrow does not describe. The most useful habit is to count the remaining route before committing a shot, especially when the cup looks close but the path is not open.
How to Play Mini Golf Saga
Hold the ball and adjust the red aiming arrow to choose direction and power, then release. Reach the cup within the available hits by planning both the immediate shot and its likely continuation.
- Inspect the cup, barriers, and remaining hit allowance.
- Select a direct route or an approach that leaves an affordable finish.
- Prepare the arrow and power, then release the stroke.
- Reassess the ball’s position and complete the hole before the allowance is exhausted.
Controls & Timing
An allowance for the whole hole
The available hits must cover the complete route. An intermediate landing is useful only if the remaining strokes can take the ball from there to the cup.
The red arrow is a preparation aid
It helps establish the shot you intend to take. Check the course along that line before treating the aim as a finished solution.
Rebounds need an exit plan
A wall contact changes travel direction. Include the space after the rebound when judging whether the shot can leave a good position.
Controls
| Input | Action | When to use |
|---|---|---|
| Hold the ball | Activate shot preparation. | Before selecting the next target. |
| Drag the aiming control | Adjust the red arrow and power. | While planning the route. |
| Release | Strike the ball. | After checking the shot allowance. |
High Score Tips
- Choose the final approach first. Find a position from which the cup has a clear line. Work backward to decide whether the available hits can reach that position and still complete the hole.
- Avoid spending a hit without progress. A small adjustment can be worthwhile, but it should solve a concrete angle problem. Do not use part of the allowance merely to test power without a route in mind.
- Give safe landings priority. A risky stroke can leave the ball needing more recovery hits than remain. Prefer a position with a clear continuation when the ambitious alternative has little margin.
- Use the observed roll to refine power. Notice whether the ball fell short, overshot, or changed direction at an obstacle. Let that result determine the next adjustment instead of always increasing strength.
Key Features
- Beachside presentation. A three-dimensional course places the putting challenge in a seaside setting.
- Limited hits. The stroke allowance makes route efficiency essential.
- Red aiming arrow. A visible preparation aid supports direction and power choices.
- Physics-based travel. Rebounds and stopping positions influence the next approach.
Frequently Asked Questions
Why do the remaining hits matter?
They limit the complete route to the cup. Before taking an approach shot, account for the strokes still needed afterward so that useful progress does not leave an unaffordable finish.
What is the red arrow for?
It helps prepare the shot’s direction and power. Read it together with the course geometry, because a wall or other obstacle can change the ball’s travel after the initial line.
Should I always try to finish immediately?
Only when the route is workable. A measured approach may leave a much simpler final putt, provided that both strokes fit within the remaining allowance and avoid unnecessary recovery.
Can I use a wall for a bank shot?
A controlled rebound can redirect the ball around an obstruction. Plan where it should go after contact and choose enough strength for that continuation without sending it beyond the useful landing.
What should I check after a failed attempt?
Identify where the route first became unworkable: the aim, the strength, or an unexpected contact. Correct that part of the plan before repeating the level with the same limited hits.